
In this guide, we will go through the critical steps to installing a red dot on your handgun.
Although tightening screws may seem simple, it’s more complicated than it looks. They can be the difference between a reliable sight system and one that flies off and hits you in the face.

I have been installing red dots for more than 10 years, and I am a mechanical engineer as well. With my expertise, I have a good understanding of fasteners and the proper way of applying torque to them. Although red dots usually come with instructions, I have observed that they are often incomplete.
There are a few key steps that I find many shooters overlook.
Keep reading to find out what they are.
How to Mount a Pistol Red Dot
Here are the items that you need. For the exact tools we use, see the options we have listed in the accessories below.
- Optics Ready Handgun (See our tips on how to choose an optics ready handgun)
- Red Dot Sight and Screws
- Adapter Plate and Screws (not needed in some cases)
- Vibra Tite thread locker
- Torque Tool that can be set in in-lbs
- Torx bits to match the screws above
- Paint Marker
- Alcohol Pads or similar cleaner
We will show each step completed on a Walther PDP and a Sig Sauer P365XL for reference.
Step 1 – Consider the Red Dot Footprint
To mount a red dot to a pistol, the mounting footprint on the red dot must match the handgun slide. For more details on this, see our full guide to red dot footprints.
If you do not have a red dot yet or need a new one, see our guide on the best pistol red dot sights and the best red dots for the P365. Here, we list our top choices and how to pick the best red dot sight for your handgun.
Step 2 – Select or Order an Adapter Plate (If Needed)
Some handguns require an adapter plate to accommodate the red dot, while others do not.
For example, my Walther PDP does require an adapter plate to mount an RMR footprint red dot. Walther provides one free mounting plate with every handgun. I ordered it from Walther, and it took about one week to arrive.
The Sig P365 does not require a mounting plate for a red dot with a Shield RMSc or Holosun K footprint. In this case, I can mount the red dot directly to the slide.
Some handguns come with various mounting plates, while others do not and must be ordered separately.
If you need an adapter plate, C&H Precision makes a wide selection, and you can order them directly.
Optics Planet also has various adapter plates to choose from (and you can save 5% with our code “survivalstoic”).
Step 3 – Ensure the Firearm is Safe
Before doing any work on a handgun, you must ensure it is unloaded, clear, and safe.
Remove the magazine. Rack the slide a few times. Check the chamber to make sure it is clear. Finally, point the handgun in a safe direction and pull the trigger.
As you are working, make sure there is no live ammo or loaded magazines in the area. This will ensure that you don’t inadvertently load the handgun.
Step 4 – Remove Red Dot Cover
Most optics-ready handguns come with a cover over the red dot mount on the slide. This can be removed by loosening the two screws on the Walther PDP.
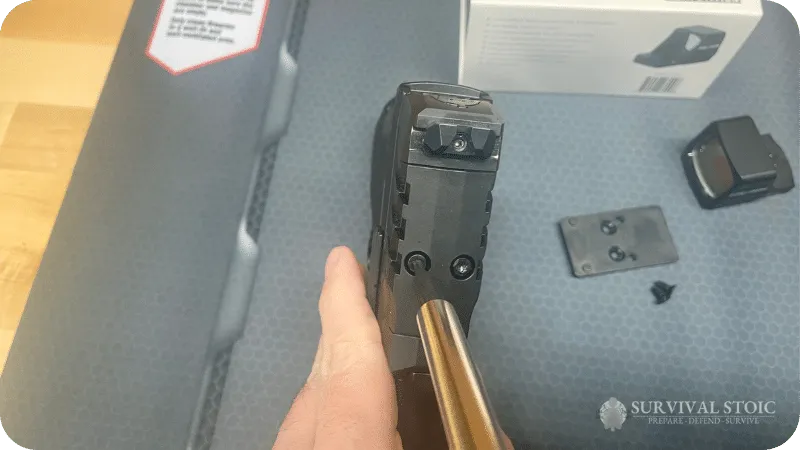
We will reuse the screws to attach the adapter plate. I like to keep the cover in the original case to avoid losing it.
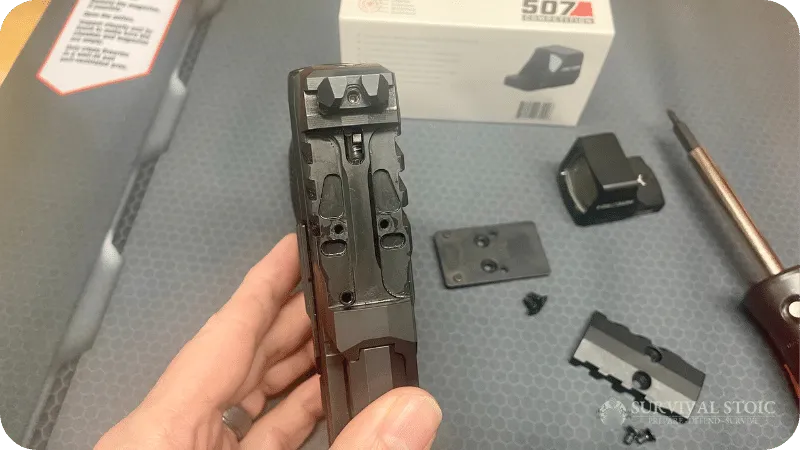
For the Sig, the slide must be removed to access the screws from the bottom. These screws hold the cover plate as well as the rear sight. After I removed it, I put all the parts in a small plastic bag for safekeeping.
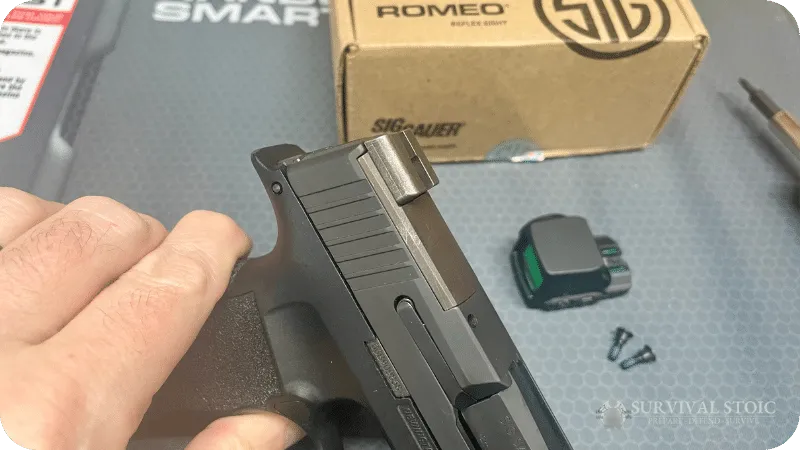
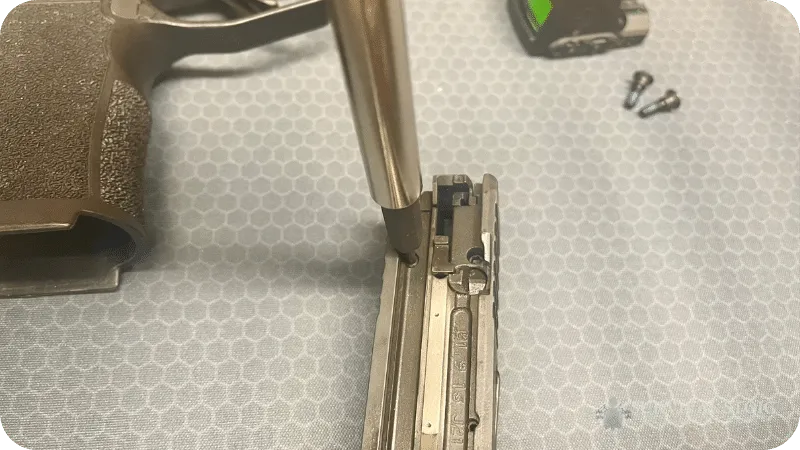
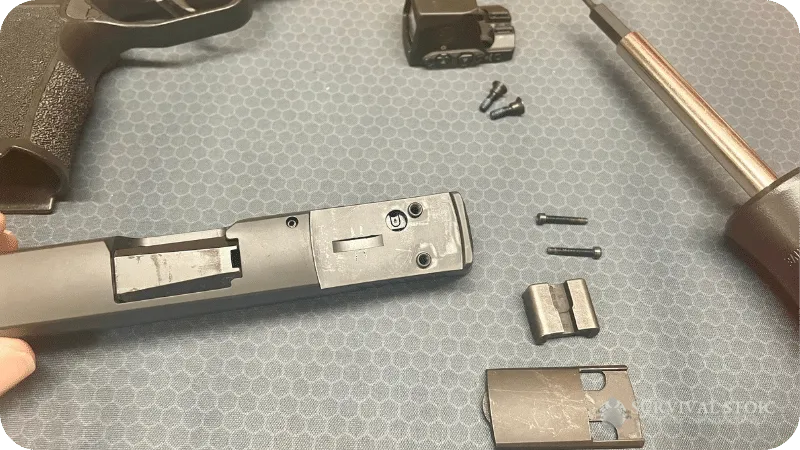
After removing the cover plate, clean the area with an alcohol pad or similar cleaner. You especially do not want any oil in the screw holes, so be sure not to push any into them as you are cleaning the surface.
Step 5 – Install Adapter Plate (if needed)
This is a critical step that must be done properly. I have seen more than one red dot fly off a handgun at the range, and this step is usually the main issue.
First, make sure you have the correct screws. There are many different types of threads, and I like to check them before I do anything else. Try them in the screw holes and make sure they go in easily. Always hand tighten them, and never use a power tool.
If there is a lot of resistance, you may have the wrong screws. Some screws come with loc-tite already on them, which may cause some resistance. However, you should not have to use much force to thread them in.
Also, make sure the screws are long enough. A rule of thumb I like to use is the amount of screw threads sticking through the adapter plate should be at least twice the diameter of the screw. Shorter than this and it is likely the threads will strip.
At the same time, you also don’t want screws that are too long and interfere with the slide function or bottom out before securing the adapter plate. Put the screws in the adapter plate and visually check them for being both too short or too long.
After you have verified the screws are correct, apply a small amount of Vibra tite to each of the screw threads and allow it to dry for 5-10 minutes. Vibra tite is superior to loc-tite in my experience (I won’t explain the reasons here, but trust me.)
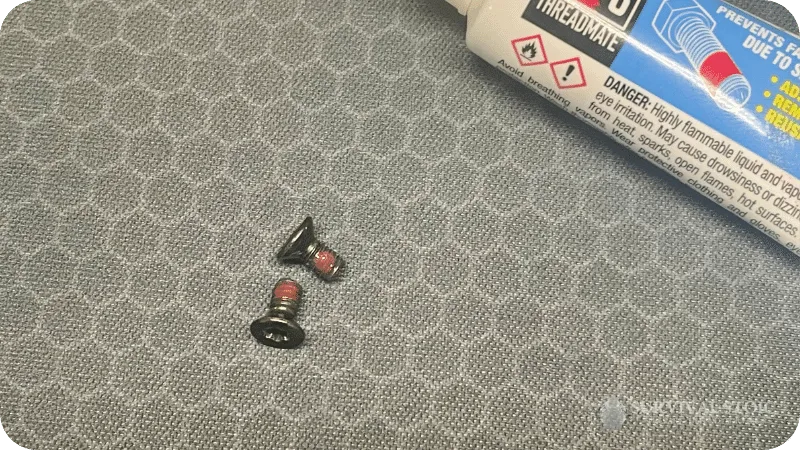
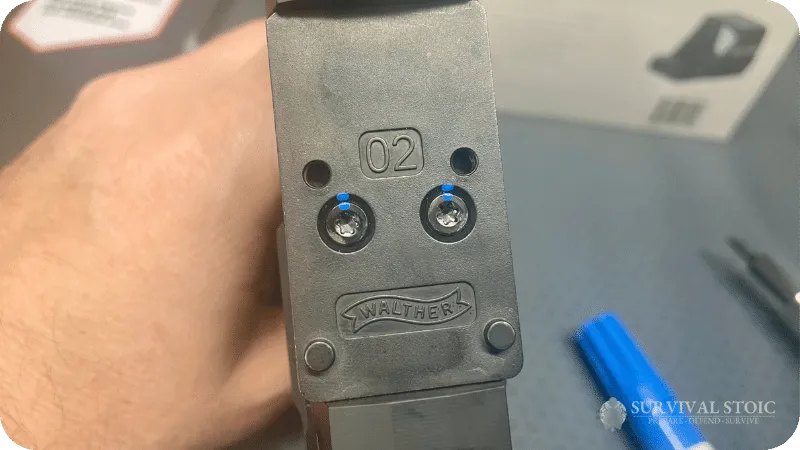
Next, clean the adapter plate with an alcohol pad and install it on the slide. If the manufacturer has torque recommendations in the manual, use them. For the Walther PDP, it is 18 in-lbs.
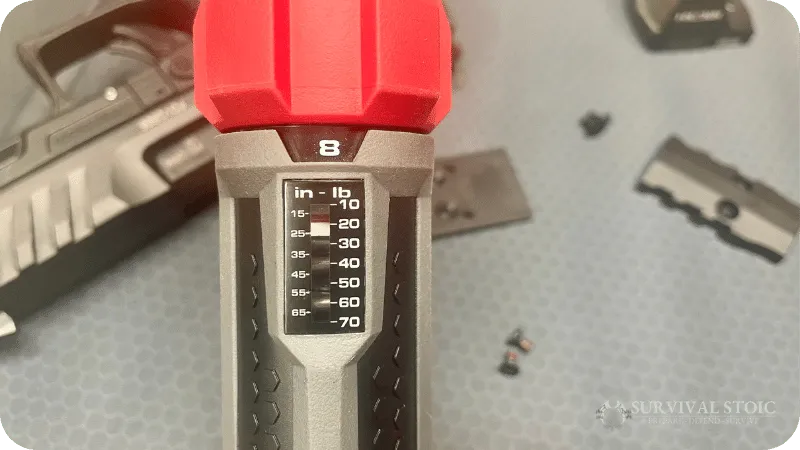
If there is no torque recommendation in your handgun manual, torque them to at least 10 in-lbs. Do not over torque, as this could strip the screw holes in your handgun slide and cause permanent damage that a gunsmith will have to fix.
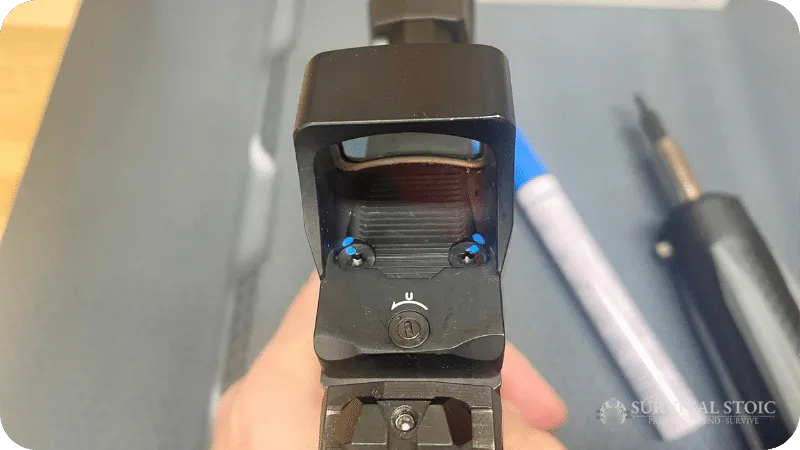
Next, use the paint pen to create witness marks on the screws you just installed. When you perform maintenance on your red dot, these marks will allow you to see if the screws have moved from their torqued positions.
Step 6 – Install Red Dot
This process is very similar to installing the adapter plate.
First, check your screws. Make sure the screws will thread easily into the slide or adapter plate, and make sure they are long enough but not too long.
Apply a small amount of vibra tite to the threads of the screws and let it dry for 5-10 minutes.
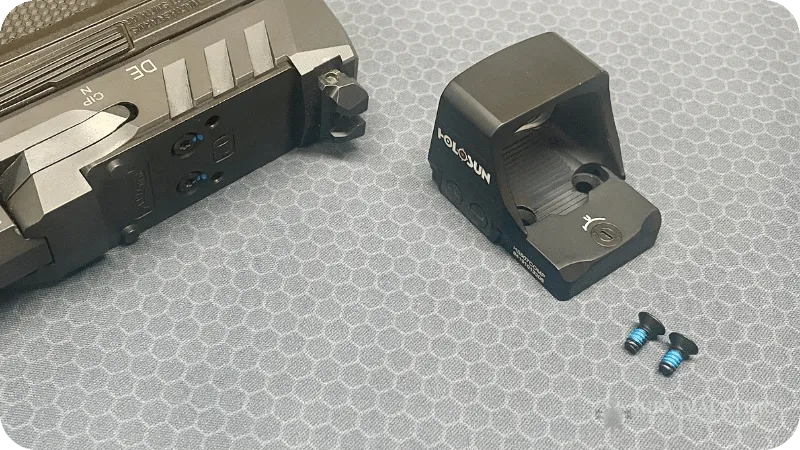
Some red dots come with torque recommendations. Use a torque wrench to ensure you achieve the correct torque without going over. This is a critical step. Too little, and you risk the red dot flying off while you are firing your handgun, too much, and you could strip out the threads in the adapter plate or handgun slide.
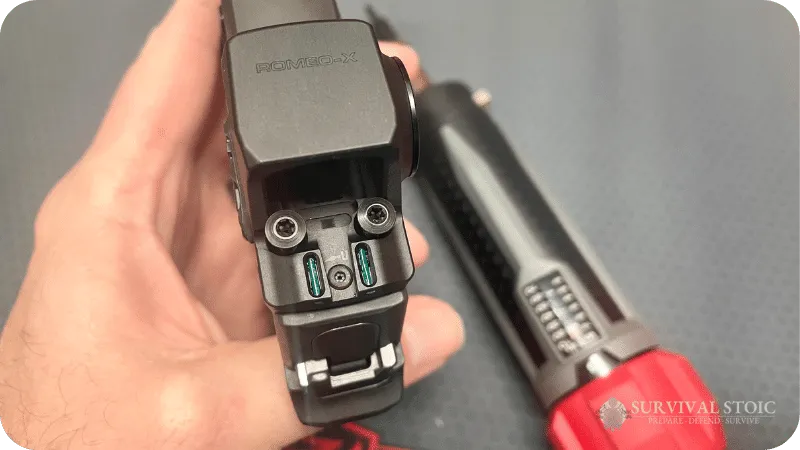
If your red dot does not have a torque recommendation, torque the screws to at least 10 in-lbs. If my red dot has an aluminum housing and the adapter or slide is steel, I like to torque to 15 in-lbs. If the red dot housing is a plastic polymer or the threaded adapter plate is aluminum, stay with 10 in-lbs.
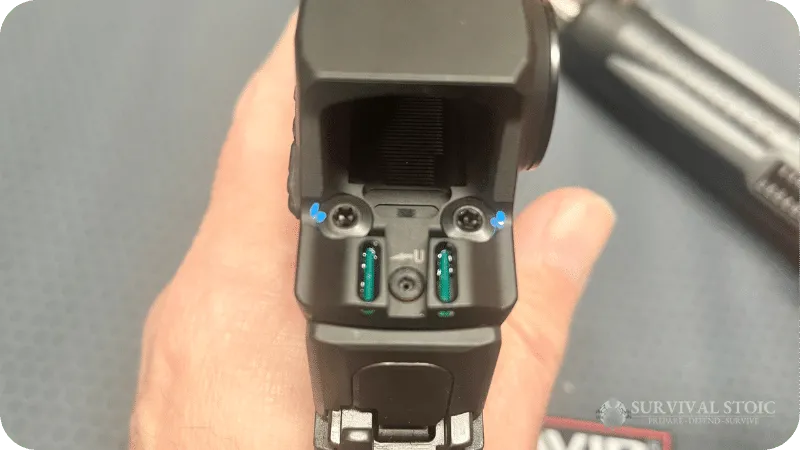
Finally, use the paint pen to make a mark on both the screw head and the red dot housing. This can be tricky depending on where the screws are and how the housing is shaped. A dot is sufficient. It doesn’t have to be a perfect line. I like to have a visual indicator in case the screws move.
Red Dot Installation and Maintenance Tips
- If you must remove the red dot to replace the battery, clean the paint you used to mark the screws off with an alcohol pad and repeat the process above.
- As you are doing your yearly maintenance (or every time you change the battery), I recommend that you replace the screws. The screws take a lot of load from the repeated cycling on top of a handgun slide, and they won’t necessarily last forever. See my recommendations below on where to find screws.
- If you don’t have to remove your red dot to replace the battery, I still recommend changing the screws periodically. Depending on how often you fire your handgun, once every year or two is fine and it is easy to set a reminder on your phone. Screws are cheap, and you don’t want one failing at the worst possible time.
- It is very important to use a torque-limiting driver. See my recommendations below. No, you don’t have a calibrated hand, and small screws are easy to strip out. I often find that the red dots that fly off have stripped-out holes because the user over-tightened them to “make sure they were tight.”
Recommended Tools
Here are some of the accessories and tools that I use and recommend.
Torque Driver
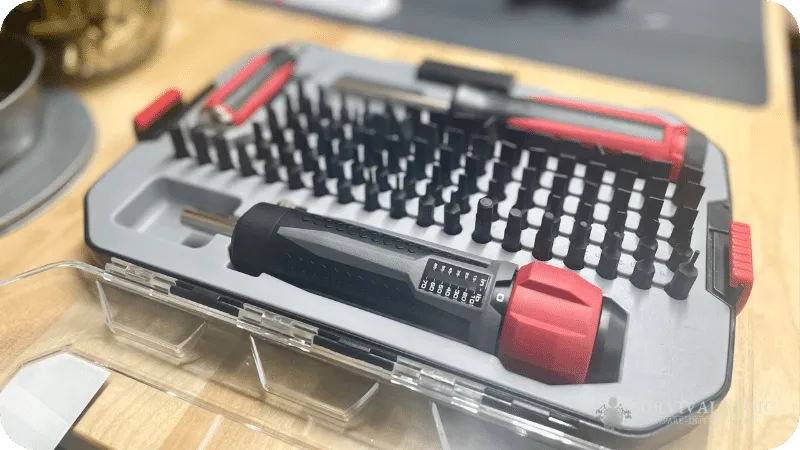
The torque driver I recommend is the Real Avid Smart-Torq & Driver Master Set. It comes in a nice storage box with all the necessary bits. The bits are longer than the standard ¼” drive bits. They are also hardened and bite better, which helps to not round out the head in tiny screws.
There are torque drivers available for less that come with just a few bits. I find that I use this full set all the time to work on not just my red dot but my holsters and rifles. I even use it on other things around the house. I was initially hesitant because of the price, but I found that the number of bits that are included were very much worth it.
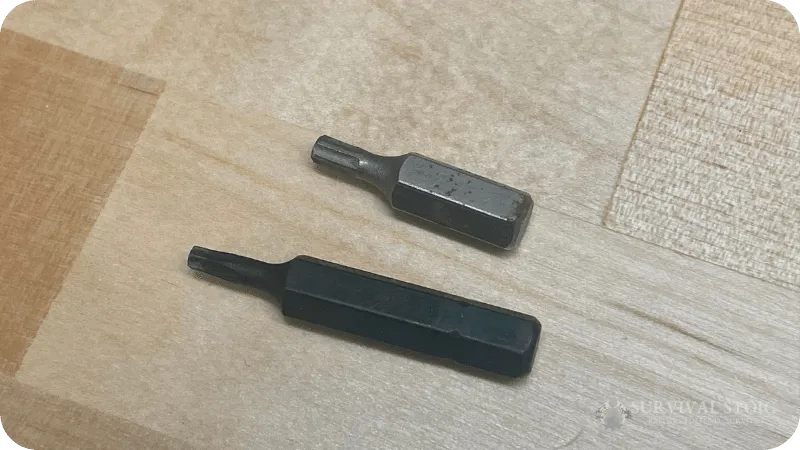
In addition to the torque driver, a standard driver with a light is also included in this set. It is my go-to for everything else that I don’t need a specific torque on.
I have included links to both Real Avid and Amazon below. Real Avid usually has a sale or discount for new customers, so be sure to check.
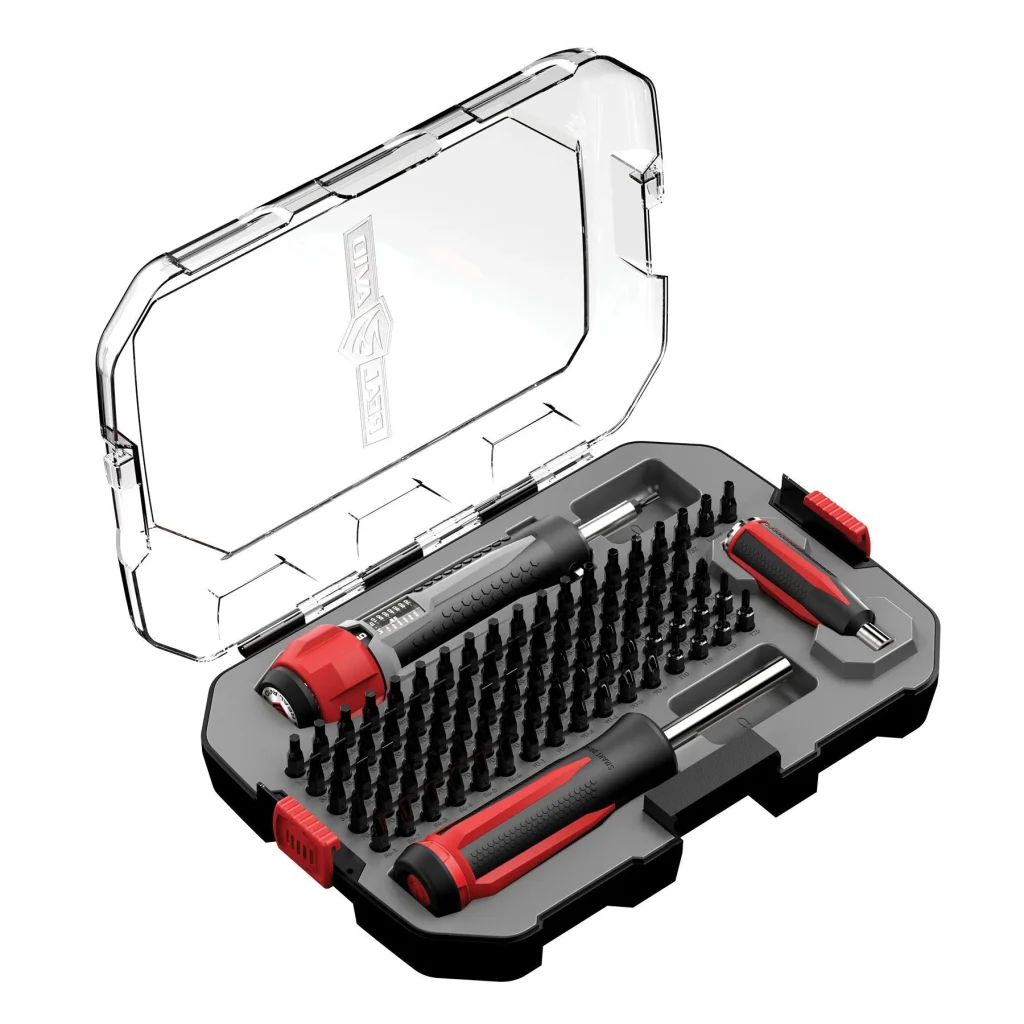
Real Avid Smart-Torq & Driver Master Set
10-70 in lb
83 Bit Set
Nice Case
MSRP: $149.99
Smart Mat
I like to work on a mat instead of directly on my table. The Real Avid Smart Mat one is my favorite and has three advantages.

- When I drop a screw or other small part, the mat dampens the “bounce” and helps me to not lose them.
- The mat helps to prevent my handguns from scratching my table. It also protects the finish on my table from gun cleaners.
- The magnetic tray on the side gives me a place to keep the small screws secure when I am working on other steps.
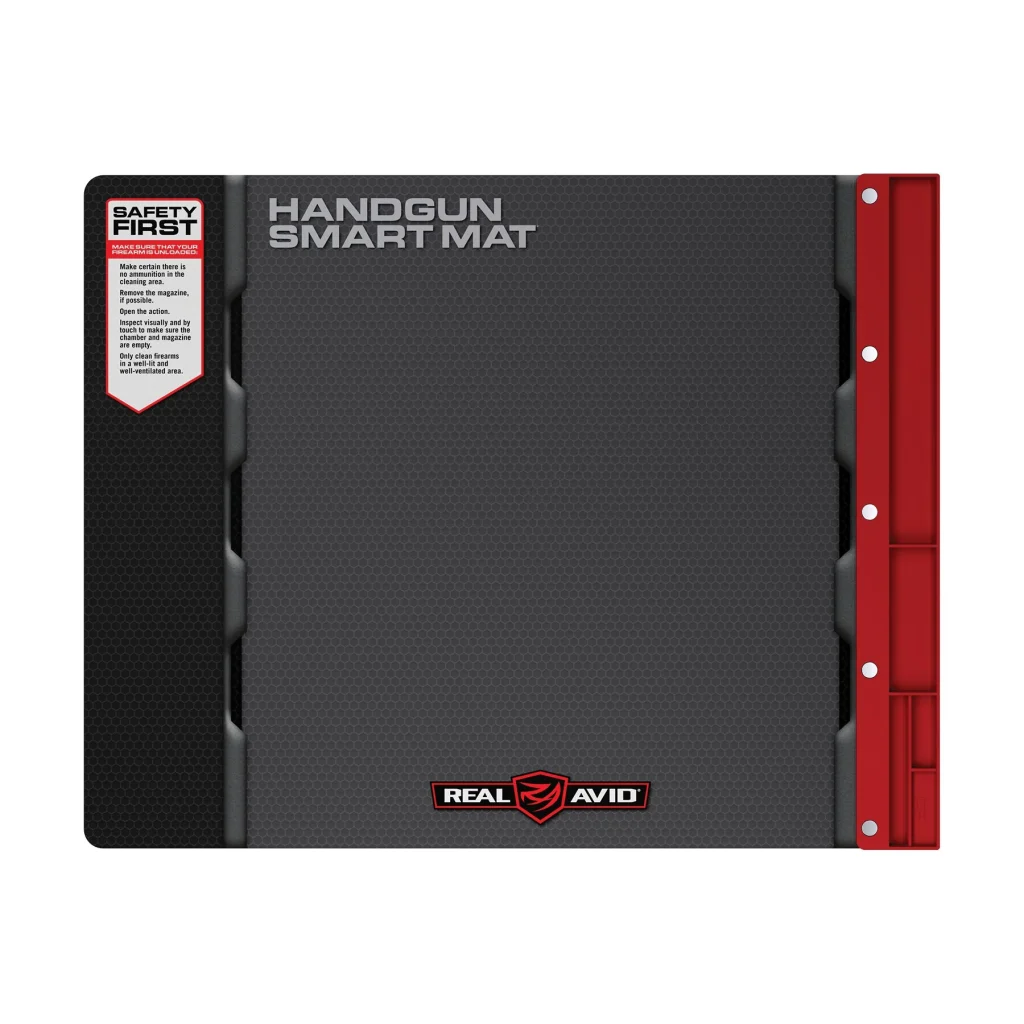
Real Avid Smart Mat
19″ x 16″
Magnetic Tray
Solvent Resistant
MSRP: $19.99
Paint Pen
This is the paint pen that I use. I have tried a sharpie, but the lines become hard to see over time. I prefer Blue over a brighter color like white or yellow.

Threadlocker
Vibra-Tite is the best thread locker for red dots that I have found.

Screws
The best place I have found to buy replacement screws is C&H Precision. I have tried going to my local hardware store or ordering from Amazon, but I never get exactly what I need. The quality is questionable as well. I certainly don’t want a cheap screw breaking off in my handgun slide, so I still go with these.
C&H knows what size screws you need, so it is easy to get the right ones.
Now You Are Ready to Mount your Red Dot
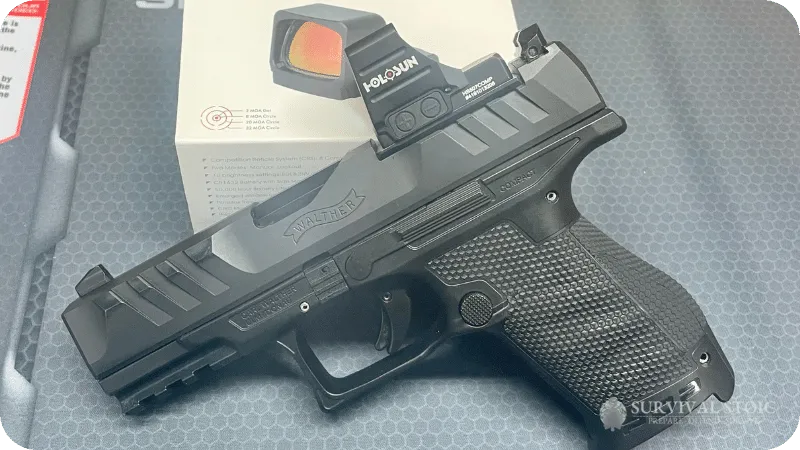
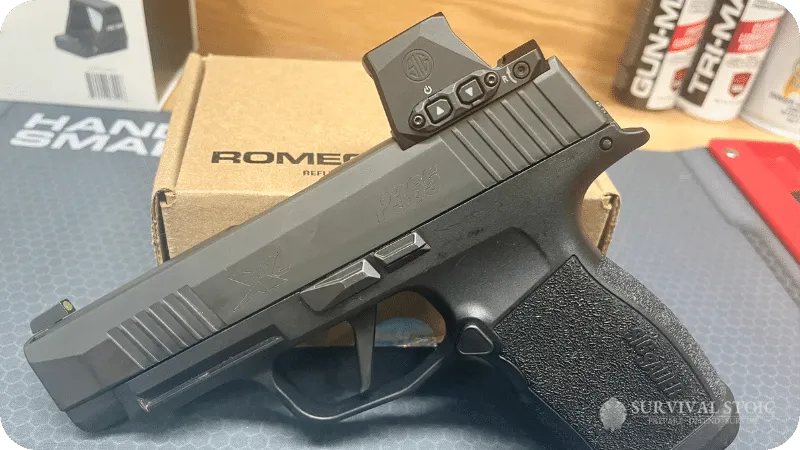
Using a proper torque tool, the right thread locker, and marking the screws is critical to make sure your red dot doesn’t hit you in the face. Follow these steps to keep your red dot secure.
Now that you have properly mounted your red dot, it is time to head to the range to zero it. Be sure to read our next guide on how to zero your red dot (coming soon).
If you have not already, be sure to follow our concealed carry guide. It includes a lot of tips that you won’t find anywhere else.
Next: How to Zero a Pistol Red Dot
Go Back: Concealed Carry Guide
